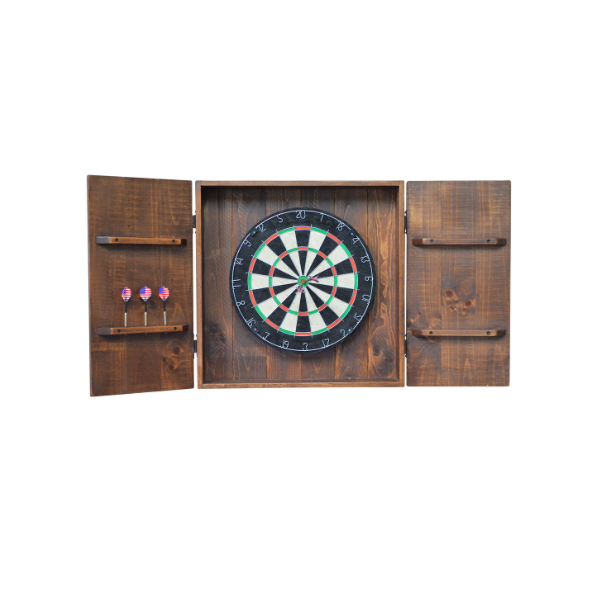
Installing a dartboard cabinet in your game room not only adds a fun activity for friends and family but also enhances the aesthetic appeal of the space. In this comprehensive guide, we’ll walk you through the step-by-step process of installing a dartboard cabinet, ensuring a secure and stylish addition to your game room.
Materials Needed:
- Dartboard cabinet kit (includes cabinet, dartboard, darts, mounting hardware)
- Tape measure
- Pencil
- Screwdriver or drill
- Level
- Wall anchors (if necessary)
- Stud finder (optional)
Choose the Location
Select a suitable location for your dartboard cabinet in your game room. Ensure there is enough space around the cabinet for players to stand comfortably and throw darts without obstruction. Consider the height at which you want to install the cabinet, ensuring it is at a comfortable eye level for players.
Mark the Mounting Position
Using a tape measure and pencil, mark the mounting position on the wall where you want to install the dartboard cabinet. Use a level to ensure the markings are straight and even.
Mount the Cabinet
If the cabinet has pre-drilled mounting holes, align them with the markings on the wall and attach the cabinet using screws or mounting hardware provided in the kit. If there are no pre-drilled holes, use a screwdriver or drill to secure the cabinet to the wall.
Install the Dartboard
Once the cabinet is securely mounted, take the dartboard included in the kit and insert it into the cabinet. Ensure the dartboard is centered and level within the cabinet for optimal gameplay.
Test Stability and Levelness
Give the dartboard cabinet a gentle shake to ensure it is securely attached to the wall. Use a level to double-check that both the cabinet and the dartboard are perfectly level. Make any necessary adjustments to ensure stability and levelness.
Hang Accessories
If your dartboard cabinet comes with additional accessories such as a scoreboard or dart holders, install them according to the manufacturer’s instructions. Use screws or mounting hardware provided to attach the accessories securely to the cabinet.
Test the Dartboard
Before inviting friends and family to play, test the dartboard to ensure it is properly mounted and functioning correctly. Throw a few darts at different areas of the board to confirm accuracy and consistency.
Enjoy Your Game Room Addition
With the dartboard cabinet securely installed and ready for play, invite friends and family to enjoy a game of darts in your game room. Have fun practicing your aim and competing in friendly matches, creating lasting memories and moments of friendly competition.
Optional Tips:
- Use a stud finder to locate wall studs for added stability when mounting the dartboard cabinet. If studs are not available in the desired location, use wall anchors to secure the cabinet to the wall.
- Consider adding additional lighting above the dartboard area to improve visibility and enhance the gaming experience.
- Personalize your dartboard cabinet with decals, paint, or other decorative elements to match your game room decor and add a personal touch.
Conclusion:
Installing a dartboard cabinet in your game room is a straightforward and rewarding project that adds entertainment and excitement to your space. By following these step-by-step instructions and using basic tools and materials, you can create a fun and functional gaming area that will be enjoyed by friends and family for years to come. Cheers to friendly competition and endless hours of dart-throwing fun in your game room!